Spring cleaning your inground pool is crucial for you to do each year before the swimming pool season begins. In this article, we will cover the steps you need to get your swimming pool ready for summer. We hope that cleaning your swimming pool will be an exciting task for you to complete. After all, it gives you a sense of readiness for summer and all those pool parties you will host.
Step 1: Clean the Pool Cover
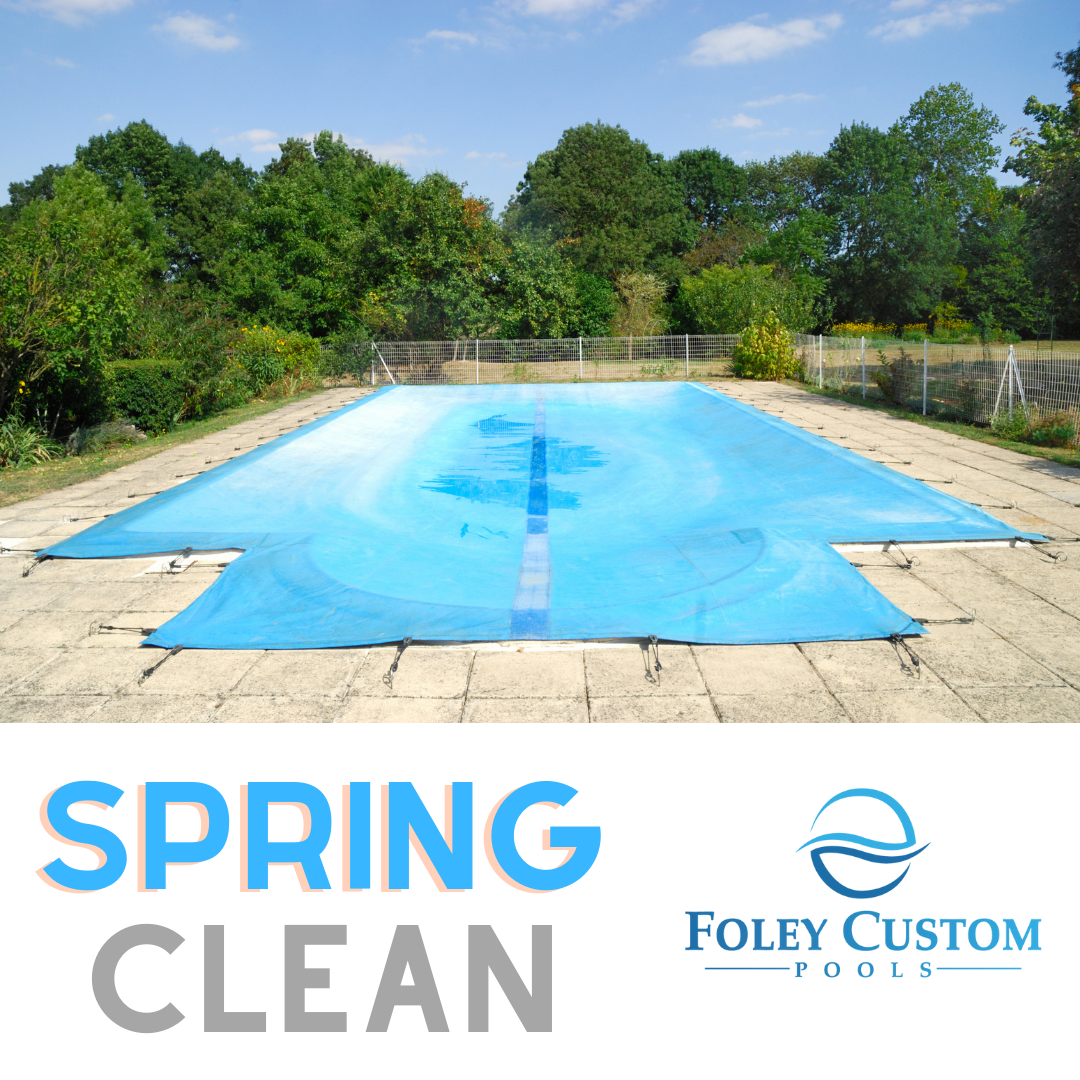
Let’s begin with the pool cover. If you do not have a pool cover on your swimming pool, then you can skip this step. For anyone with a pool cover, we want to make sure we clean this item first. We will save ourselves a lot of time if we can clean the pool cover of any debris. This is important because we do not want any of that debris falling into your pool when we take the pool the cover off. To get some of that debris off the cover, try using a plastic rake. Do not use a metal rake. We will leave this to your discovery if you think a metal rake is a good idea.
Another thing we are looking for on top of your pool cover is any leftover rainwater that has created any brown or green algae. Depending on the amount you have to clean off the cover, you may need a water pump to pump it off of your pool cover. If it’s very little, a wet-dry shop vac may work.
We do not want you to use a pressure washer on your pool cover unless you are prepared to buy a new one when it gets damaged. That high pressure could be deadly to your pool cover.
For mesh covers, you should be able to rinse and remove the cover without having to do intense cleaning. An anchor-style pool cover will require a little more work. If it’s really dirty, then you will need a soft bristle brush, which you can pick up from your local hardware store. Soap, water, and a good rinse should do the job.
Step 2: Replace Plugs and Restore from the Winterization
If you winterized your swimming pool before winter, then there are a few things we need to do. We need to check all of the return fittings to be sure they are put back in place. This is especially important if you hired someone else to winterize your swimming pool. Most service companies will place the plugs and caps inside the pump basket.
If you capped your pool in the winter, as we suggest in our blog, with a gizzmo (an ice compensator) then you need to look in each of your pool skimmers and remove these. In some parts of the country, antifreeze is used in the winterization process. If this was used in your pool, you will have to reverse this by turning your sand filter to waste to push any antifreeze out of the lines.
Step 3: Refill and Clean the Pool
When you winterized your pool, you should have dropped the water level by several inches. So, let’s measure your water line and refill back to the height needed, which should be halfway up your skimmer. A simple garden hose should do the job. Because this may take a while, this will be a good time to check your pool for any damage.
Another good idea at this time is to clean your pool. So, let’s whip out those brushes and vacuum and get that pool clean! Pay special attention to the walls, floors, and steps for any debris that can gather in those spaces. This fresh cleaning will make the chemicals more effective when they are added.
Step 4: Check the Filter & Prime the Pump
This step shouldn’t be done until you have your water line back above the skimmers. But once that is done, we can check the filters. Check the pump’s o-ring for any cracking. If you notice any cracking, you will have to replace the o-ring. If everything looks great, then let’s move forward with priming the pump. Fill your pumps pot with water. Once it is running, make sure to look and see if the water is circulating. Last, make sure the pressure on your filter gauge is reading properly.
If you do not see movement on the gauge or circulation of water, then you may have a leak. If so, you can try to tighten the pumps union connection. If that doesn’t work, you may want to seek a professional to check the unit.
Step 5: Getting the Balance Right
Now that everything is clean, leveled off, repaired (if needed) and the sun is shining, we need to finish off this one last step. This step you should be accustomed to completing. Let’s break out your chemical kit and test the water. Let’s begin though with a shock to your pool. This helps us get a good reset for the spring. Then follow the directions for your test kit to balance out the alkalinity and pH levels. Once all of this is done, you can sit back and relax until it is time for your first pool party of the summer.
Well, what are you waiting for? Get to it and send us an invitation to your first pool party!


